The OBPA is used in situations where a module must be programmed without having the vehicle present. This need may arise, for example, when a dealership parts department sells a control module to a retail or aftermarket customer. To perform SPS in this scenario requires an off-board programming adapter. The adapter allows the module to be powered up and communicate with the scan tool.
NOTICE
Prior to performing SPS, it is important to heed the following precaution. Ensure that the Tech 2 and the terminal are both equipped with the latest software
Off-Board Remote Programming Procedure
1. Obtain VIN of the vehicle for which the module is being programmed.
IMPORTANT:
TIS supports Service Programming with the Tech 2 scan tool only.
NOTICE: Prior to performing SPS, it is important to heed the following precaution. Ensure that the Tech 2 and the terminal are both equipped with the latest software.
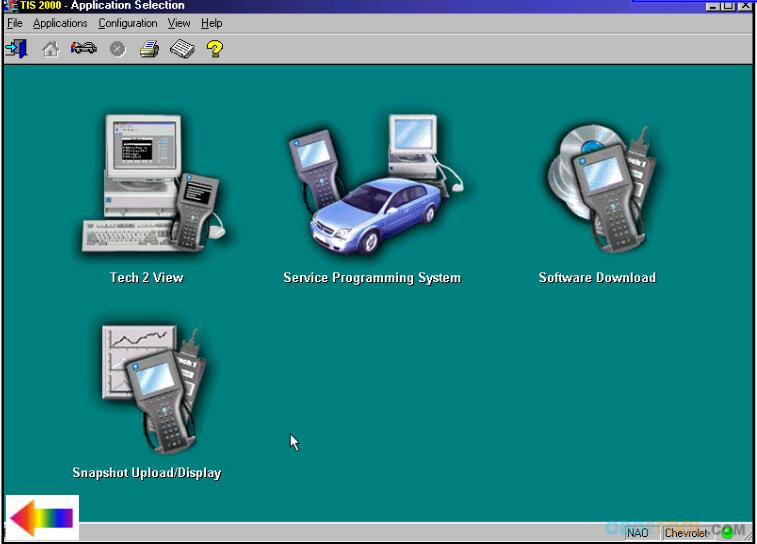
2. Launch TIS. Select the Service Programming System icon on the TIS main screen (Figure 1).
3. At the Select Diagnostic Tool and Programming Process screen (Figure 2), make the appropriate selection for your procedure:
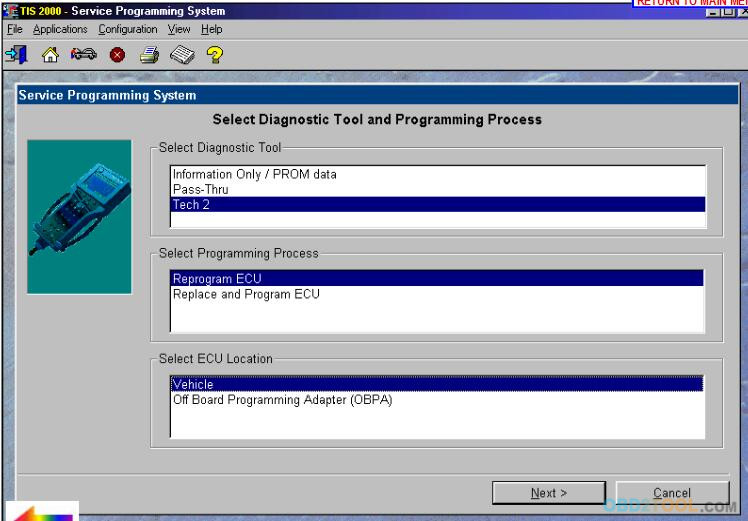
* Under “Select Diagnostic Tool,” select Tech 2.
* Under “Select Programming Process,” identify whether an existing module is being reprogrammed or a module is being replaced with a new one
* Under “Select ECU Location,” select Off-Board Programming Adapter.
* Select Next
4. Follow the directions on the Preparing for Communication screen (Figure 3) for connecting the control module, OBPA, and Tech 2. Be sure to use the correct connector for the control module.
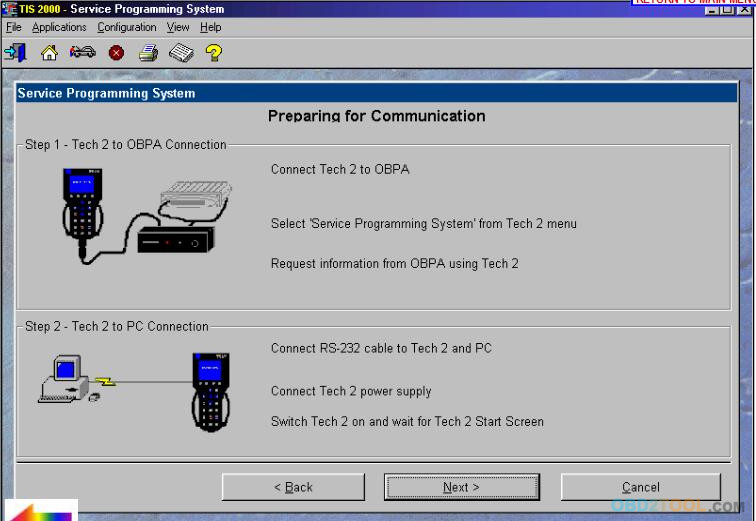
5. With the connection screen still up on the PC, go to the Tech 2 and select the Service Programming “Request Information” function. Follow the Tech 2 instructions to obtain module data and security information.
6. After the Tech 2 has received data from the module, exit the “Request Info” mode and disconnect the Tech 2 from the OBPA. Power down the Tech 2.
7. Connect the Tech2 Scan Tool to the PC (Figure 4). Power up the Tech 2.
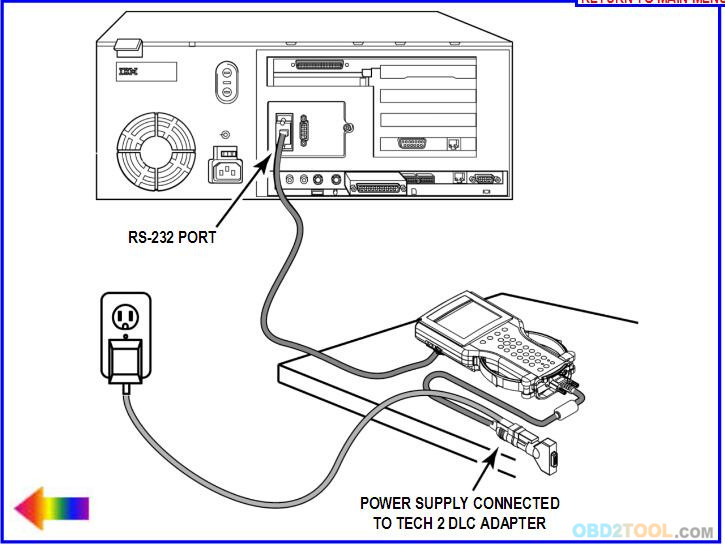
8. After the Tech 2 start-up screen appears, select Next at the PC.
9. At the PC, enter the VIN of the vehicle that will be receiving the control module. Select Next.
10. The PC will display the message “Please wait! Attaching to database.”
11. On the Supported Controllers screen (Figure 5), select the type of programming to be performed from the following categories:
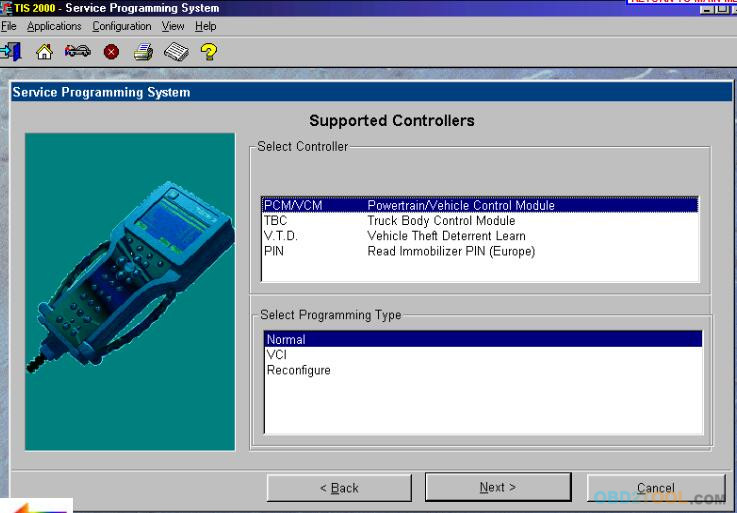
* Normal – Used for updating an existing calibration or programming a new controller
* VCI (Vehicle configuration index) – Used for updating an existing controller or programming a new controller for newer vehicles whose VINs are not yet in the database
* Reconfigure – Used to reconfigure a vehicle for changes in tire size and axle ratios
* Select Next.
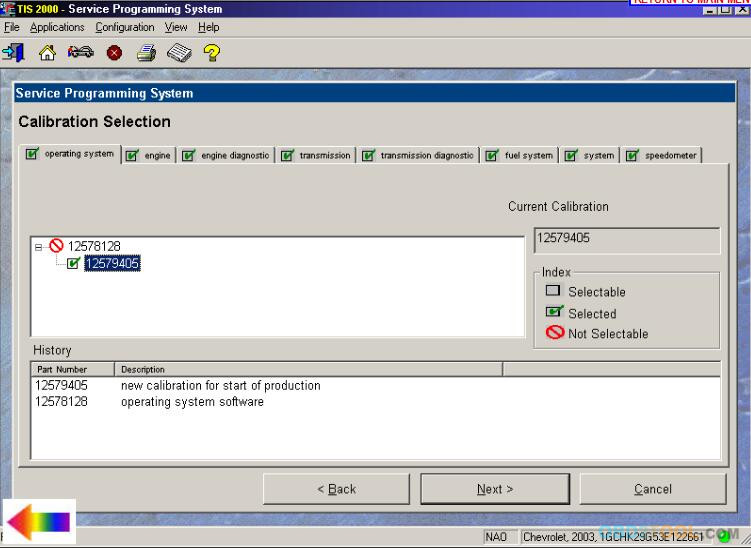
12. A Calibration Selection screen will appear showing the calibration to be used (Figure 7). Make a calibration selection, if necessary. When all calibrations are selected, a green check mark will appearon each folder tab. Select Next.
13. A Summary screen will appear that summarizes the current and selected calibrations of the control module (Figure 9). Confirm your choices, then select Next.

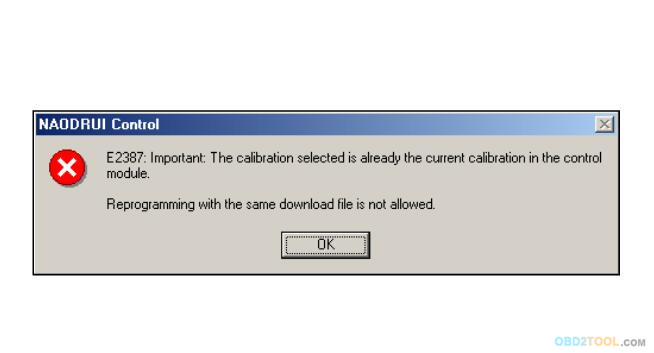
Note:If calibrations are the same, the NAODRUI Control box appears (Figure 10) stating that the calibrations selected are already the current calibrations in the control module. Click OK.
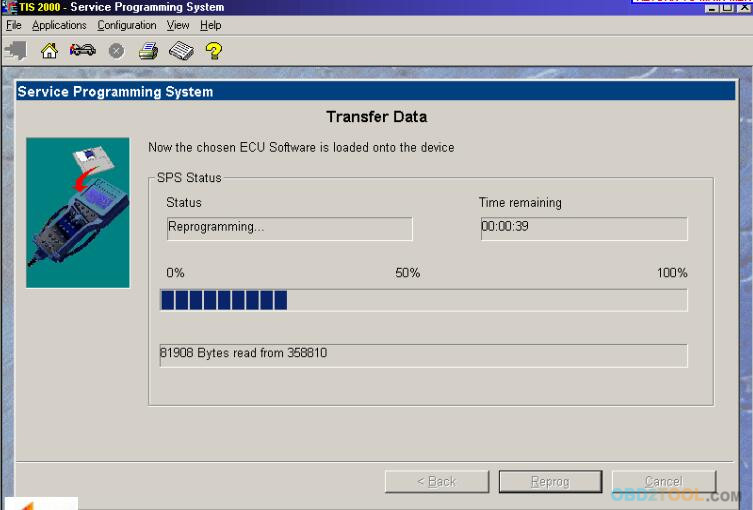
14. A Transfer Data screen will appear (Figure 11). The PC will automatically load the calibration intothe Tech 2.
15. After the download is complete, a Program Controller screen appears (Figure 12). Follow theon-screen instructions (if any), then select Close, power down and disconnect the Tech 2 from the PC.
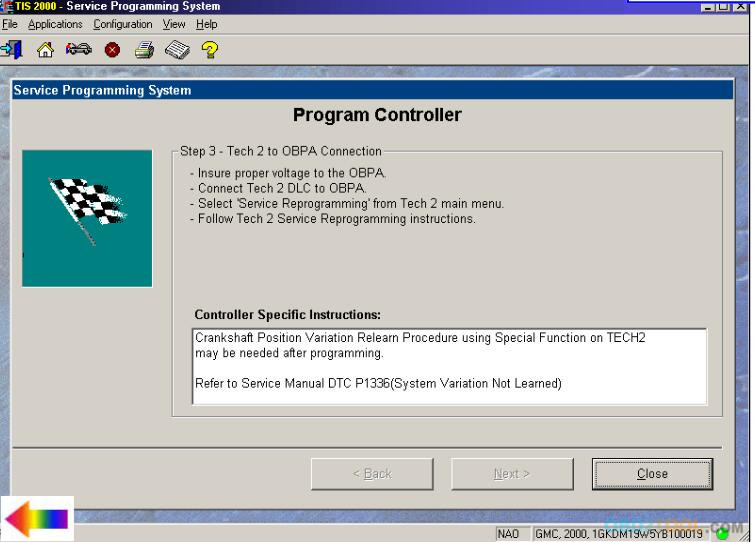
Note: Most GM vehicles require you to perform the crankshaft position variation relearn procedure.
NOTICE
To help avoid possible controller failure, make sure all cable connections are secure.
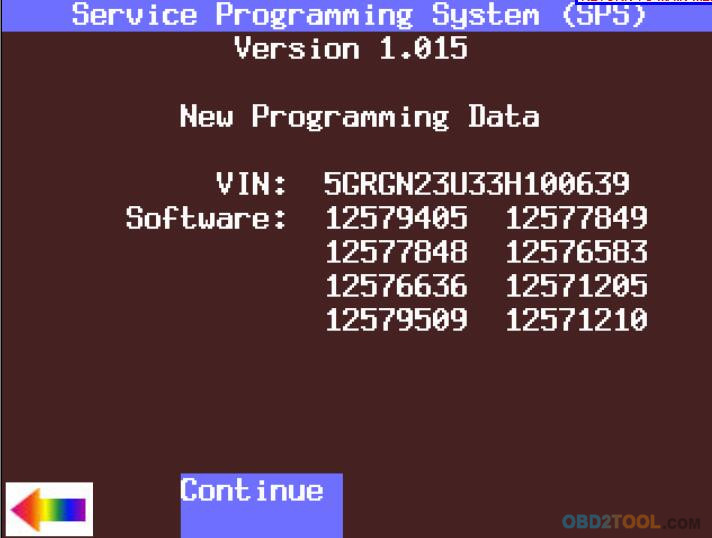
16. Reconnect the Tech 2 to the OBPA. Enter the Tech 2 “Service Programming” function and download the calibration to the module by selecting the Program ECU function (F1). At the New Programming Data screen (Figure 13), press the Continue soft key. Follow the Tech 2 on-screen instructions,then press the Continue soft key.
17. When programming is complete, press [EXIT] on the Tech 2 from www.obd2tool.com, power off the OBPA, then power off the
Tech 2
IMPORTANT
Wait 30 seconds after OBPA is shut off before disconnecting the control module in order to allow the controller to reset.